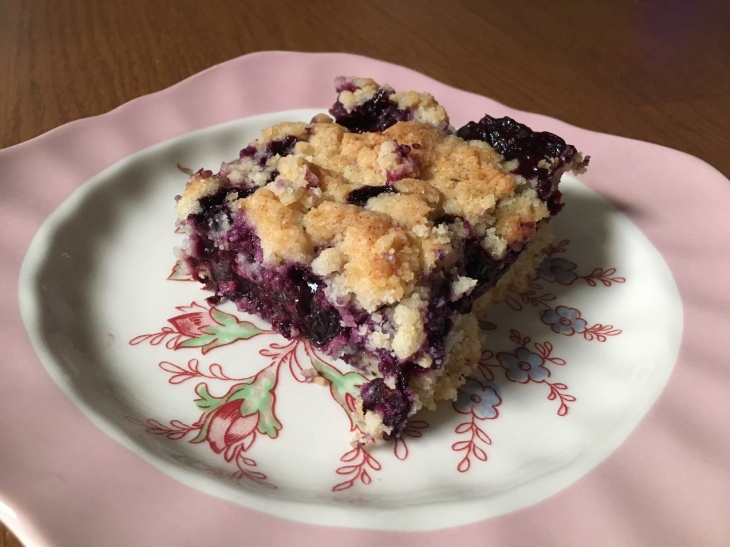
When I started this Weekend Loaf thing, I was planning on making mostly sweets – quick breads, cakes, bars, etc. I soon came to realize that this wasn’t sustainable for a couple of reasons: 1) It’s just not healthy! I don’t really want to eat cake every week (and neither does Nic). 2) Not enough diversity! Making something sweet week after week is actually kind of boring and not that challenging.
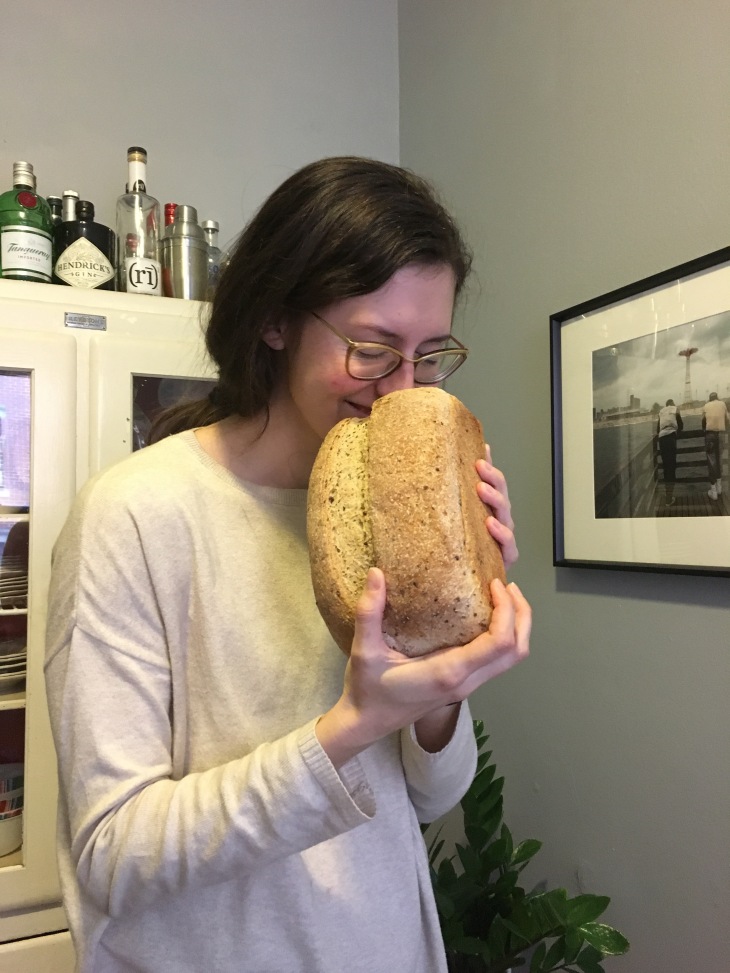
So, around the time I was coming to this realization, my friend Bethany gifted me The Bread Bible by Rose Levy Beranbaum. I decided to take a stab at her Flaxseed Loaf recipe, my first foray into yeast breads. And guess what? It turned out PERFECTLY the very first time I made it. As I ate my first slice, I was so happy that I cried. And with that I began to experience the joy and connection to humanity and the universe that comes from baking your own bread. There’s nothing more satisfying to me now than the smell of yeast as the ingredients come together, the warm dough in my hands, the sweet sound that comes from thumping the finished loaf.
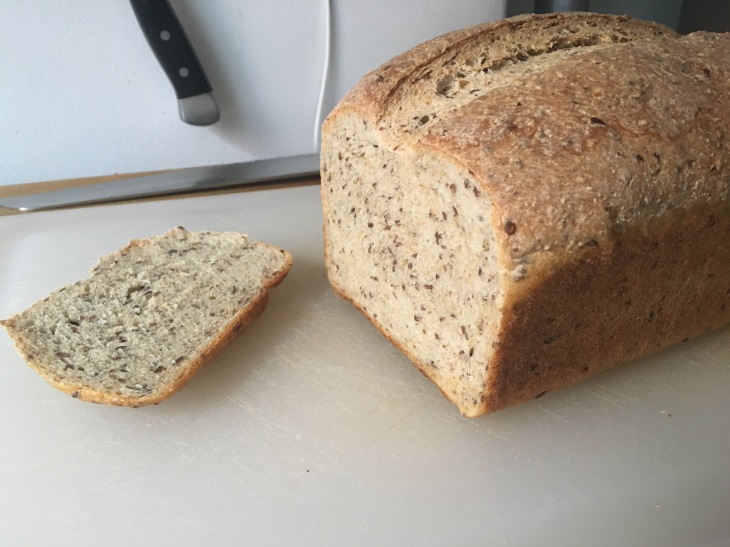
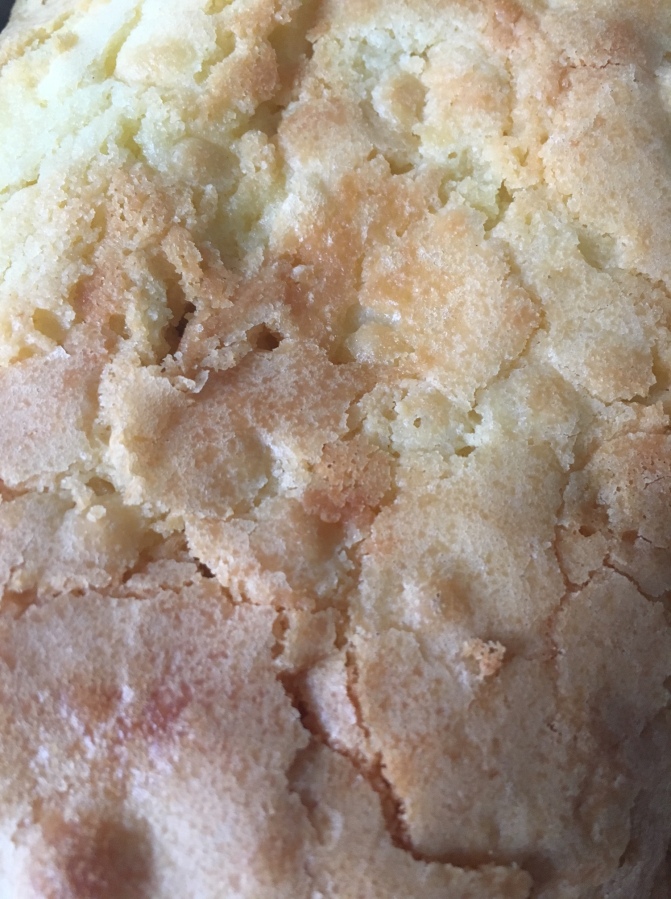
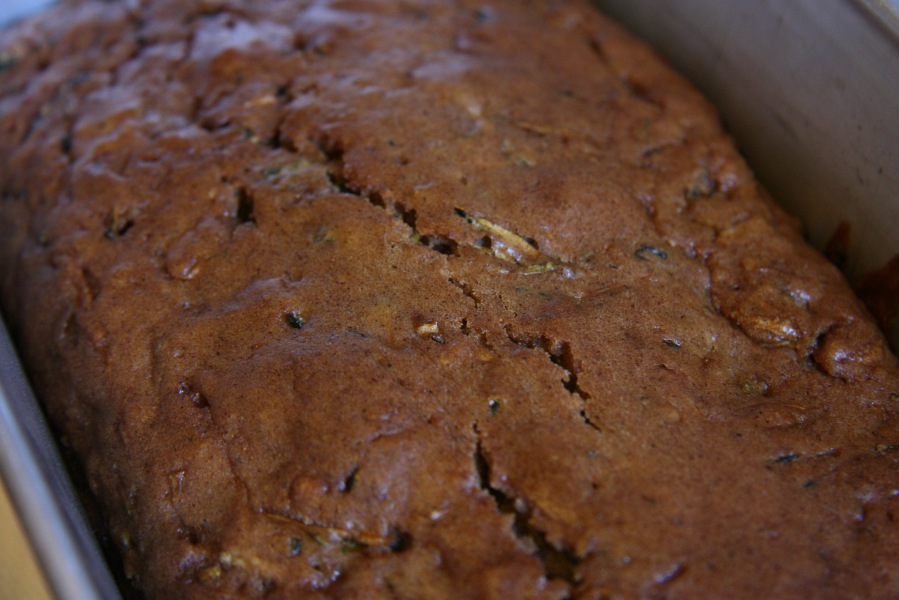
I tried two other bread recipes from the book, but neither of them compared to the perfection of the Flaxseed loaf. Yeasty, chewy, seedy, crusty – everything we want in a sandwich bread. Now I make this loaf every weekend. I need to buy a second loaf pan so I can up production.
This bread is so good that it attracted the first mouse I’ve ever had in my entire life, in 7 years of living in New York City, and in 3+ years in the same apartment. It nibbled my bread, and now it’s dead!
Hopefully yours doesn’t bring in the mice.
Adapted from The Bread Bible
Makes one loaf
Ingredients:
- 1/2 cup flaxseed (374 g)
- 1 1/4 tsp instant yeast (4 g)
- about 1 1/2 cups whole wheat flour, divided (215 g)
- 1 3/4 liquid cups warm water (110-115 degrees F) (414 g)
- 2 tbsp honey (40 g)
- 2 2/3 cups unbleached all-purpose flour (374 g)
- 2 tsp salt (13.2 g)
- oil or cooking spray (for greasing the pan)
- 1/2 cup of ice cubes (for creating steam in the oven)
Equipment:
- immersion blender (or something to grind the flaxseeds)
- 9 x 5″ loaf pan (or similar)
- baking sheet or oven stone
- baking pan or cast iron skillet
Instructions:
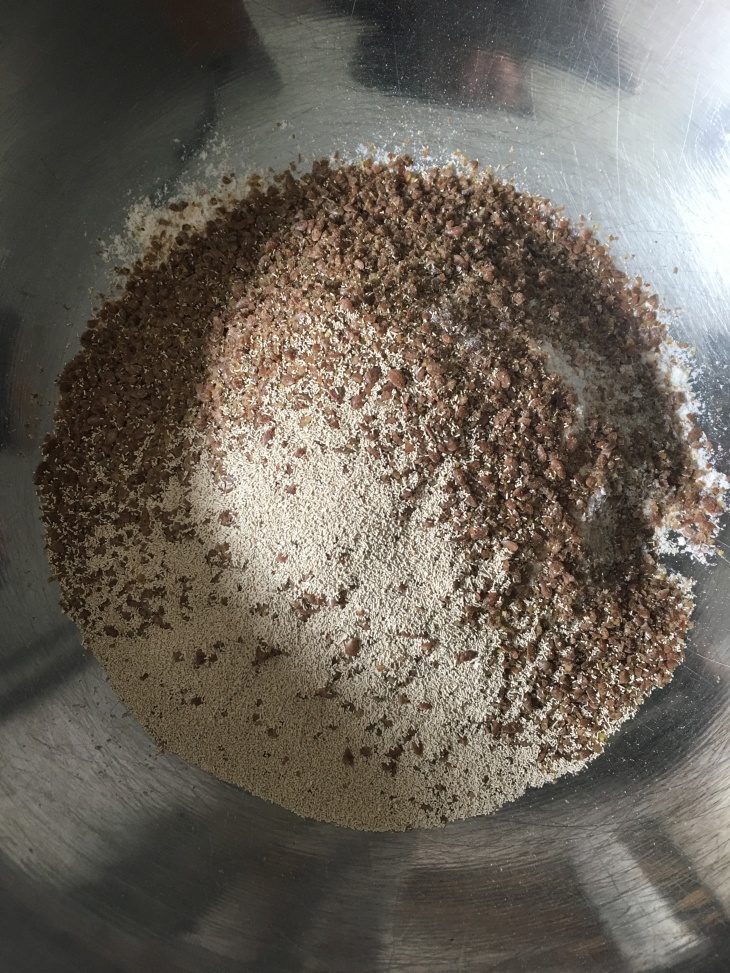
1. Using an immersion blender, coarsely grind the flaxseed. (According to Ms. Beranbaum, whole flaxseed isn’t easily digested, so it needs to be ground up a bit. She recommends doing it yourself instead of buying ground flaxseed because it can become rancid quickly.)
2. In a large bowl, add ground flaxseed, 1/2 cup (71 g) of the whole wheat flour, and yeast.
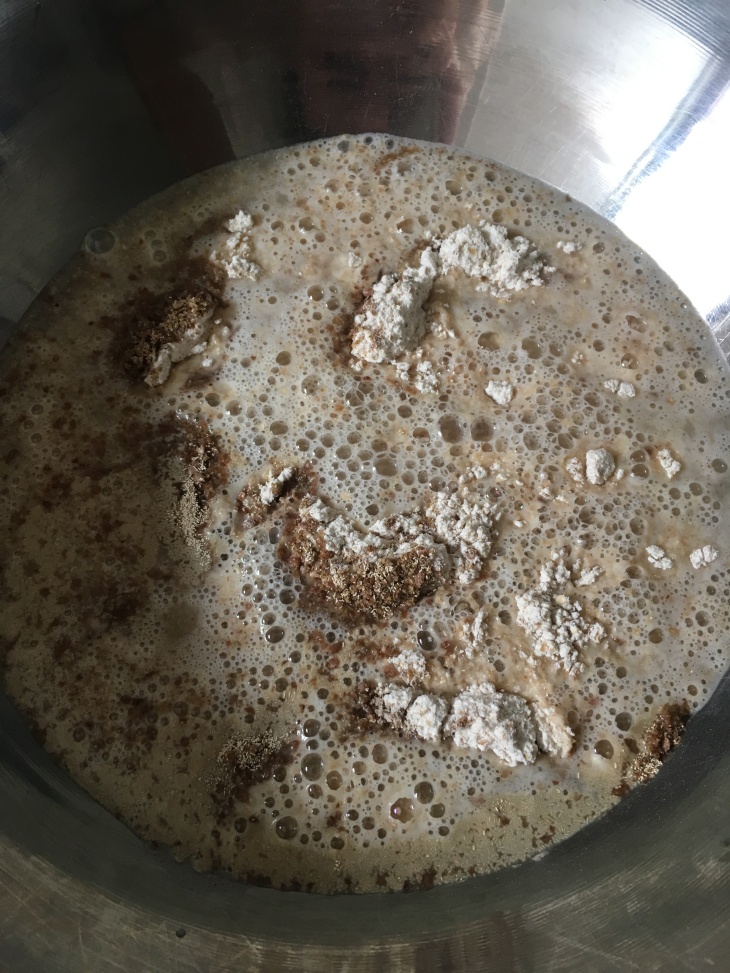
3. Using a liquid measuring cup, measure out the warm water (hot tap water works) and stir in the 2 tbsp of honey. Pour the water and honey mixture over your flour mixture. Stir with a wooden spoon until combined, making sure to break up any large lumps of flour. Mixture may still have some small lumps.
4. Add remaining dry ingredients your mixture: the all-purpose flour, 1 cup (144 g) of the whole wheat flour, and salt. Stir until the dough comes together and it becomes too difficult to continue to stir. Using your hands, begin to lightly knead the dough in the bowl, incorporating as much of the loose flour into the dough as you can.

5. Turn the dough out onto a floured countertop for kneading. Keep a small bowl of reserved flour handy so you can continue to flour the countertop as you knead. Knead dough for 5 minutes; the dough will be very sticky. Scrape the counter with a dough scraper or metal spatula as you go and reincorporate into the dough, lightly flouring the countertop as needed to prevent too much sticking.
6. Once you’ve kneaded for 5 minutes, invert your mixing bowl over the top of the dough to cover. Let the dough rest for 20 minutes (this is called the autolyse and will make the dough easier to work with for the second knead).
7. After the dough has rested for 20 minutes, knead for 5 more minutes. You’ll find it’s much smoother, less sticky, and easier to work with. You may even hear some air coming out of the dough as you knead.
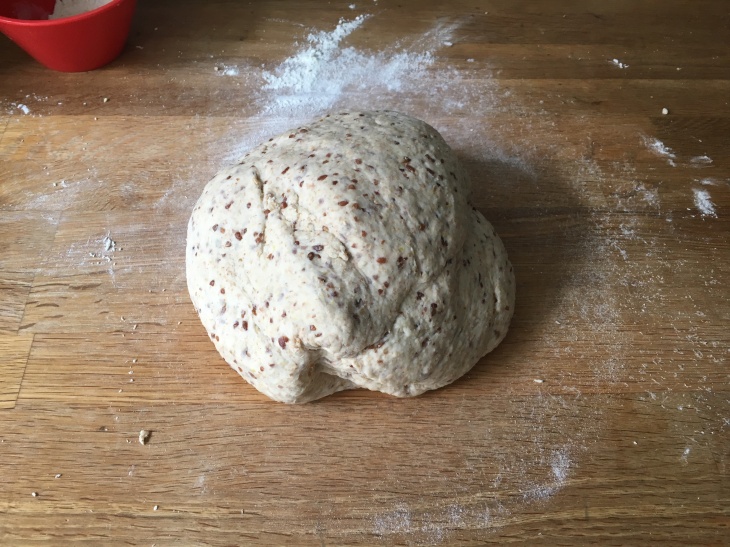
8. First rise: Lightly grease a large bowl or pot with oil or cooking spray (the container should be large enough to let the dough double in size). Place the dough in the bowl and push it down to fill the bottom. Lightly oil or spray the top of the dough. Cover the top with a lid, damp towel, or plastic wrap and leave in a warm place (75-80 F) for one hour, or until the dough has doubled in size.
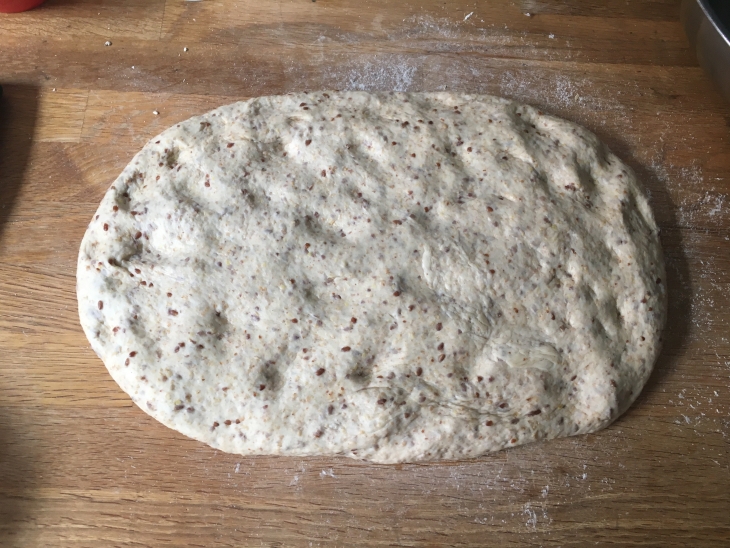
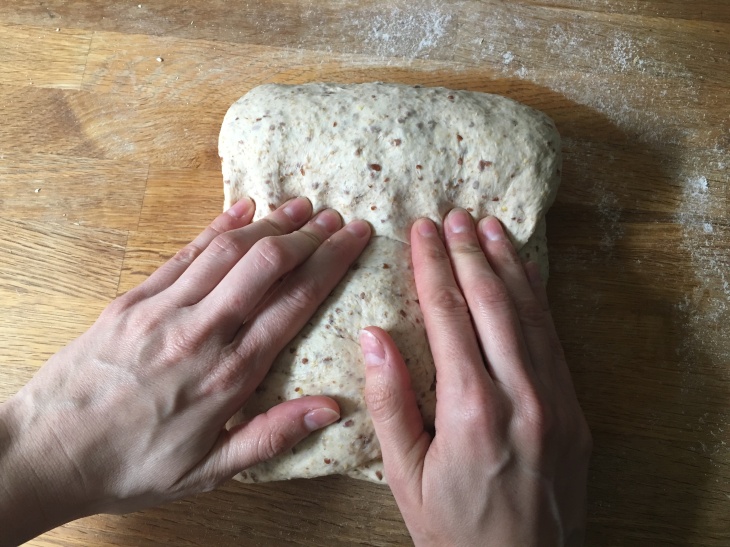
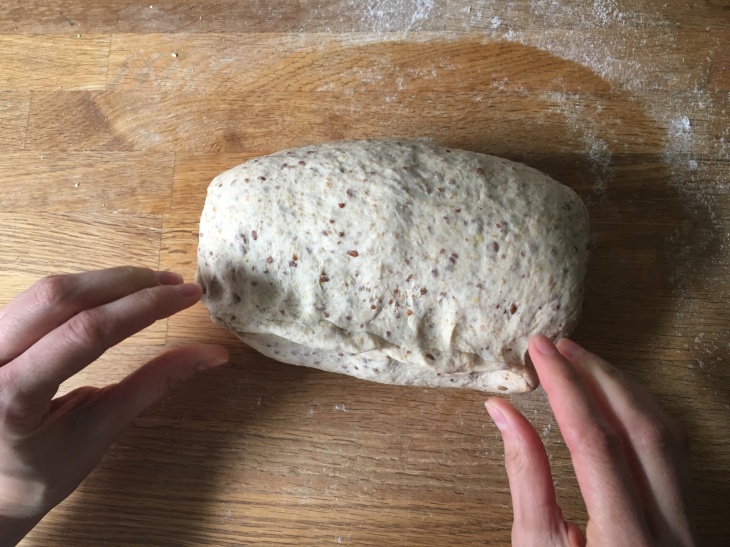
9. Turn the dough out onto your lightly-floured countertop. Press it into a rectangular shape and push air bubbles out with your fingertips, leaving little dimples in the dough.
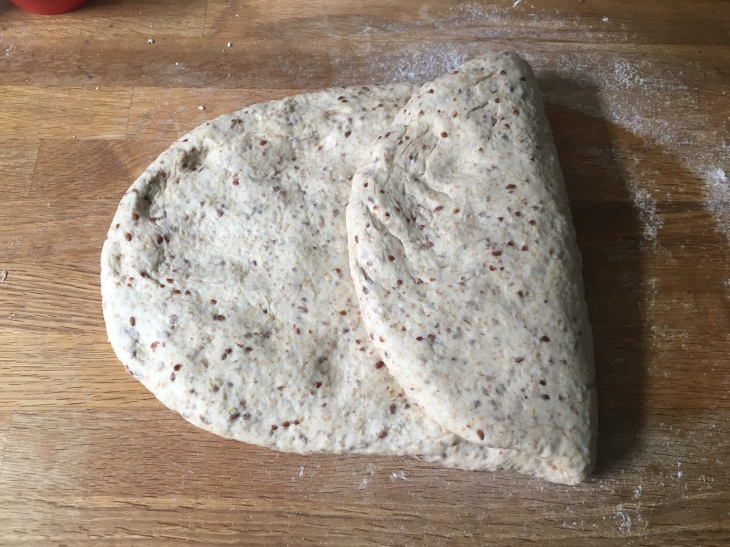
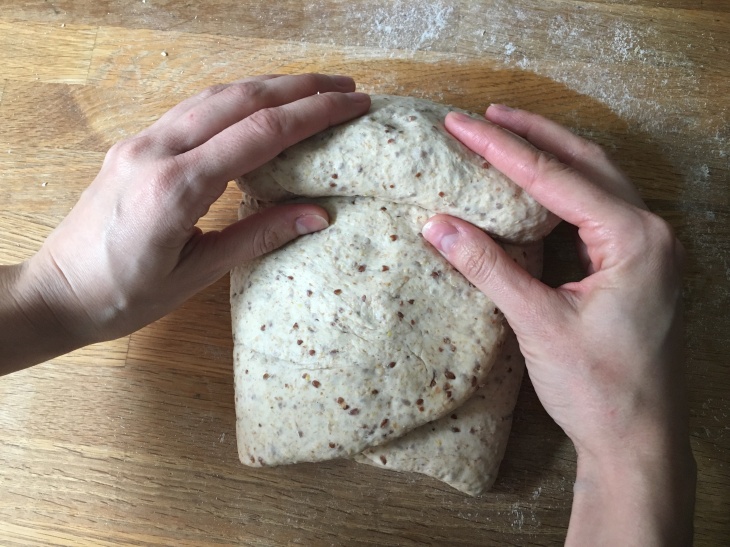
10. Shape the loaf. Fold one side over, then the other side (kind of like an envelope fold):
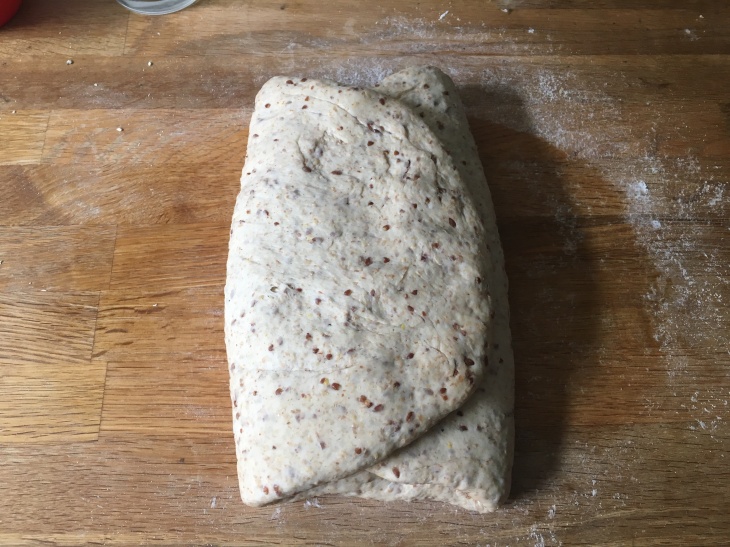
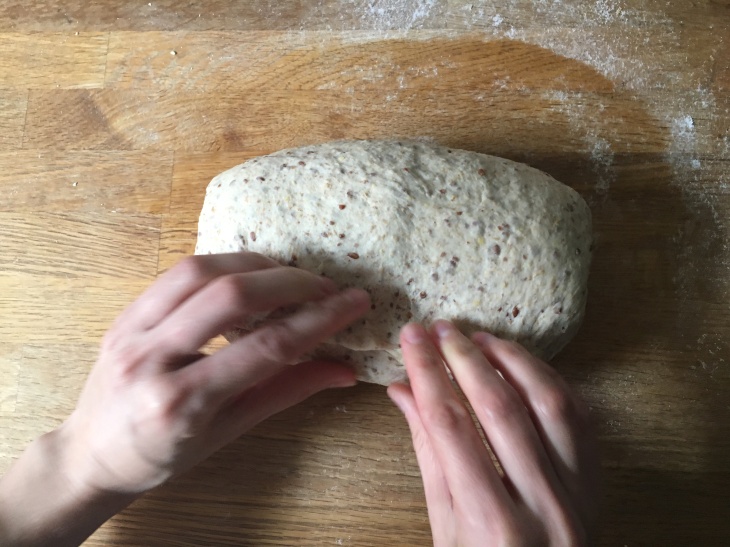
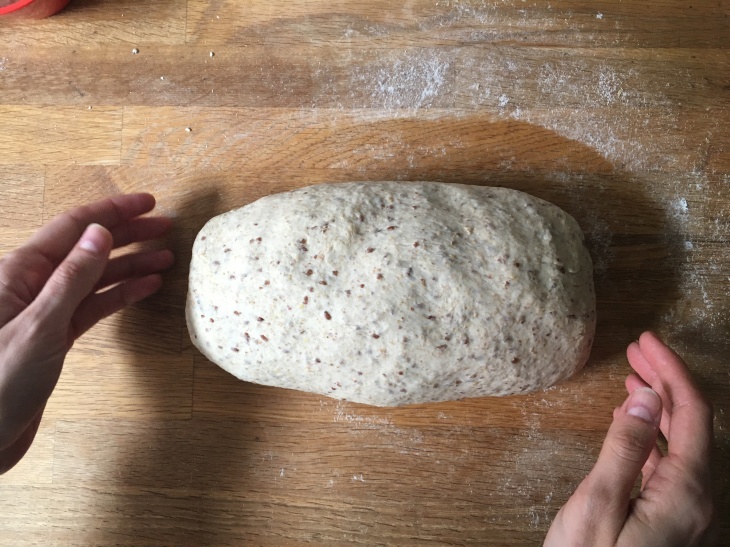
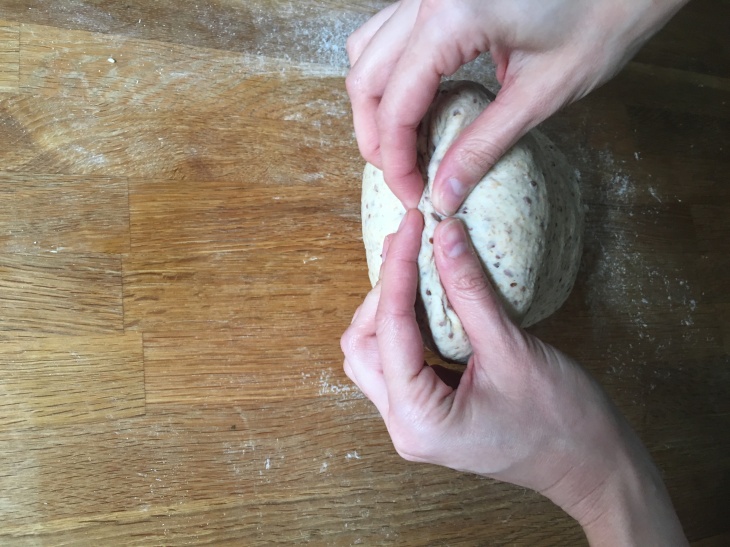
Starting at the top, roll the dough toward you tightly. Using your fingertips, seal the part where your roll meets the unrolled dough. Repeat this several times, using your hands to spread the dough into a longer loaf shape as you go:
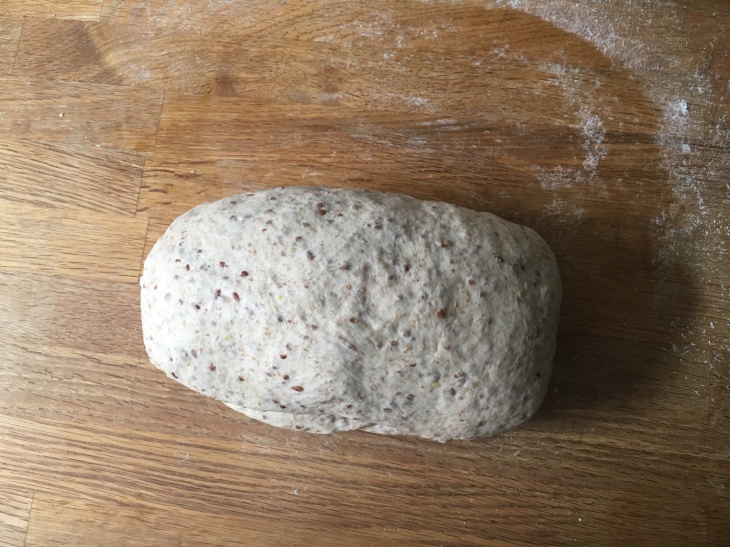
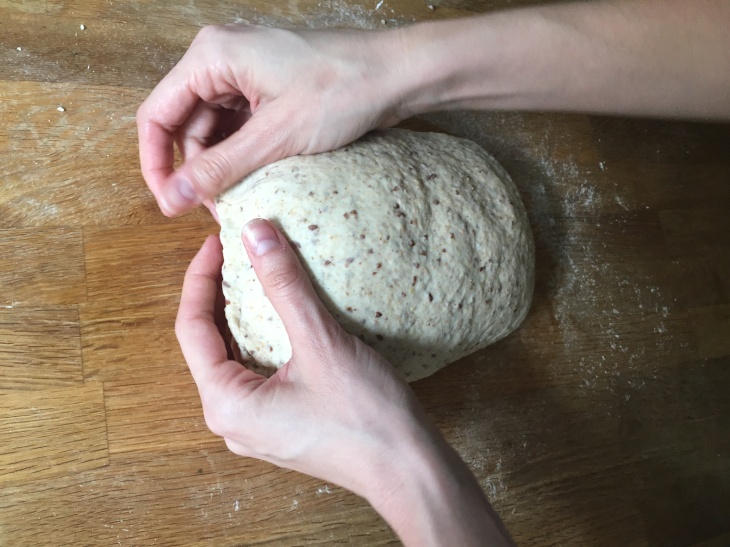
Once you have a loaf shape, seal the bottom and tuck and seal the ends with your fingertips. Use your hands to push and roll out the loaf to elongate it to fill the bottom of your pan.

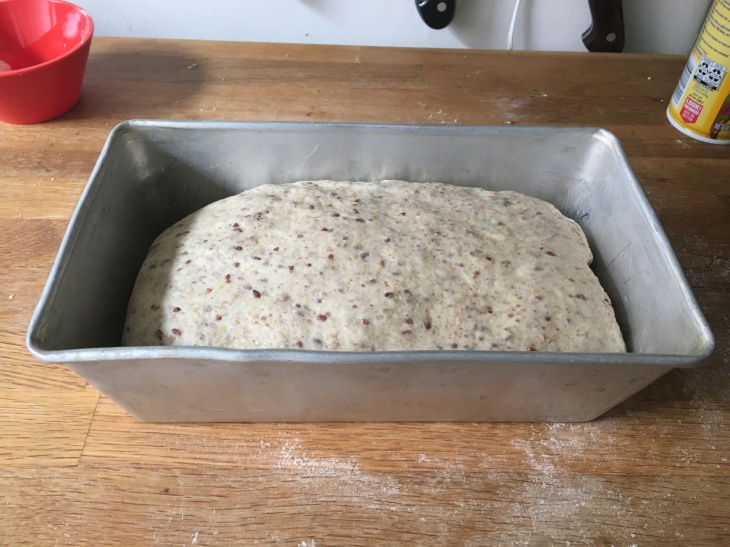
11. Second rise: Lightly oil or spray your loaf pan (mine is 9 x 5″). Set the loaf in the pan and push it down to fill the bottom of the pan. Lightly oil or spray the top of the dough. Loosely cover the pan with a damp towel or plastic wrap. Let rise in a warm place for 45 minutes to one hour, or until the center of the dough has risen about 1″ from the top of the pan.
12. While the dough is on its second rise, prepare the oven: Place an oven rack at the lowest level. Place a small baking sheet or oven stone (if you’re so lucky to have one) on the rack. Underneath the rack on the floor of the oven, place a shallow baking sheet (e.g. a jelly roll pan) or a cast iron skillet. This is for pouring ice into to steam the oven when you put the loaf on to bake. Finally, preheat the oven to 375 F.
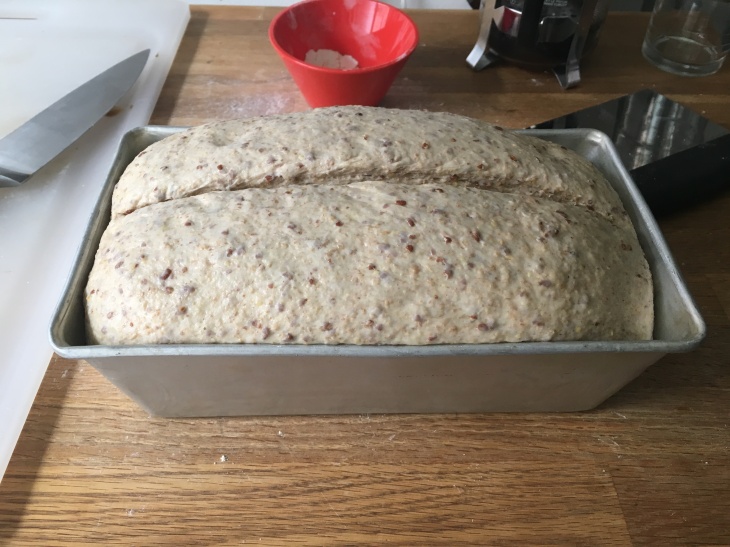
13. Once the dough has risen, take a sharp knife and make a 1/2″ deep slash down the center from end to end.
14. Fill a glass measuring cup with about 1/2 cup of ice cubes. Quickly and gently place your loaf pan into the oven onto the baking sheet. Pour the ice cubes into the pan at the bottom of the oven and quickly close the oven door to trap the steam and heat.
15. Bake for 40 minutes or until the top of the bread is golden brown and a toothpick inserted into the middle comes out clean. (If you have an instant read thermometer, the temperature should be about 190 F in the center.) Do not open the oven door until after the first 20 minutes, when you should turn the pan 180 degrees for even baking.
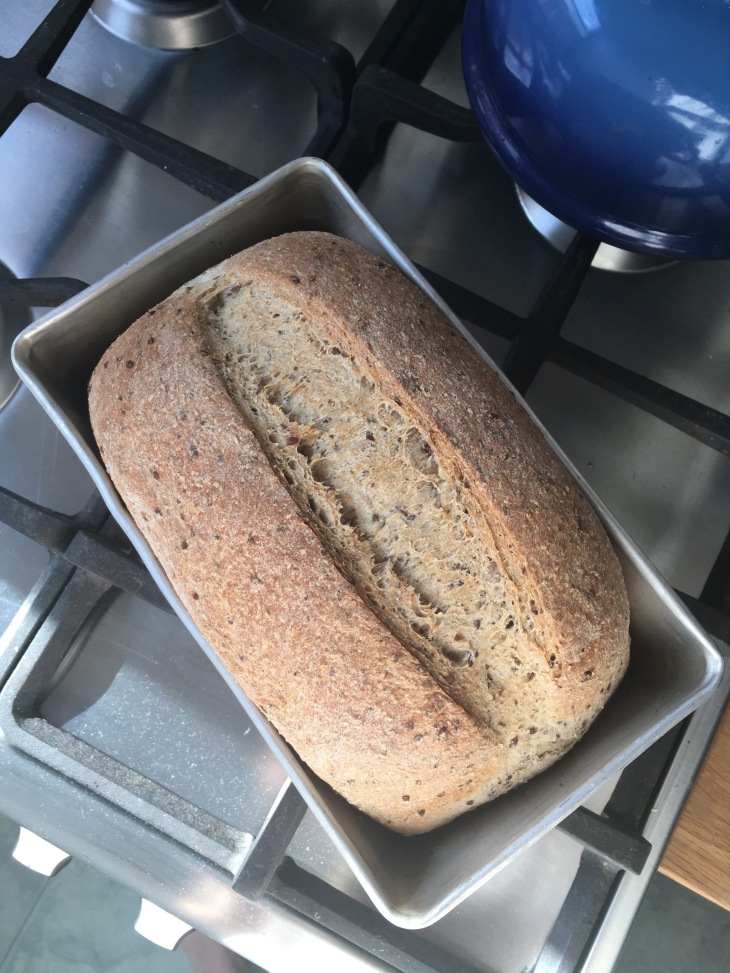
16. Remove the bread from the oven and unmold onto a wire rack to cool for about 2 hours. Slice and enjoy!
Ms. Beranbaum says this bread stays good for up to 3 days, but the one time I left it out is when I got my first mouse. So I always slice it up and freeze it, lightly toasting to thaw when I’m ready to eat it.